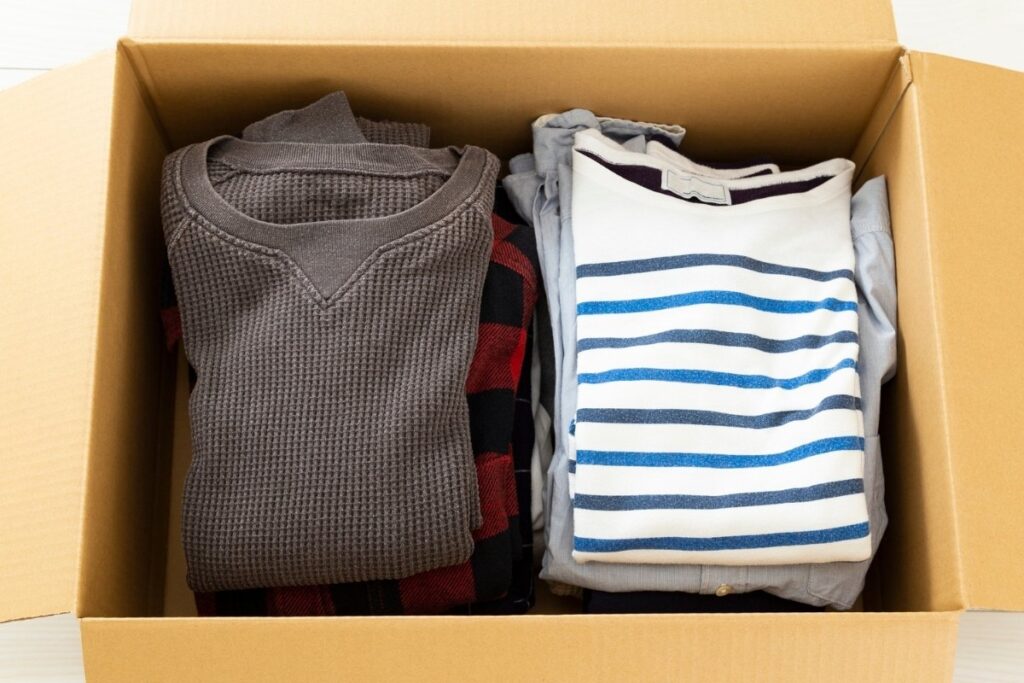
Kitchen appliances are some of the hardest items to move. They’re heavy, awkwardly shaped, and often contain hidden components that can be damaged if they’re packed incorrectly. Add the fear of scratches, leaks, or lifting injuries, and it’s no surprise appliances cause stress during a move.
The good news is that kitchen appliances can be packed safely with the right preparation. This guide walks you through how to pack kitchen appliances for moving, covering both small and large appliances, with clear steps that reduce damage and injury risk. It also explains how packing changes when appliances are going into storage rather than straight into a new home.
What To Do Before Packing Kitchen Appliances
Preparation is the most important part of packing appliances safely. Rushing this step leads to most problems later.
Start by cleaning and drying all appliances thoroughly. Any food residue or moisture left inside can cause mould or corrosion. Drain water lines from dishwashers, fridges with ice makers, and coffee machines. Disconnect power cords and hoses carefully, following manufacturer instructions if available.
Remove or secure loose parts such as racks, trays, shelves, and filters. These should be wrapped separately to prevent movement. Taking quick photos of how appliances are connected can make reinstallation much easier.
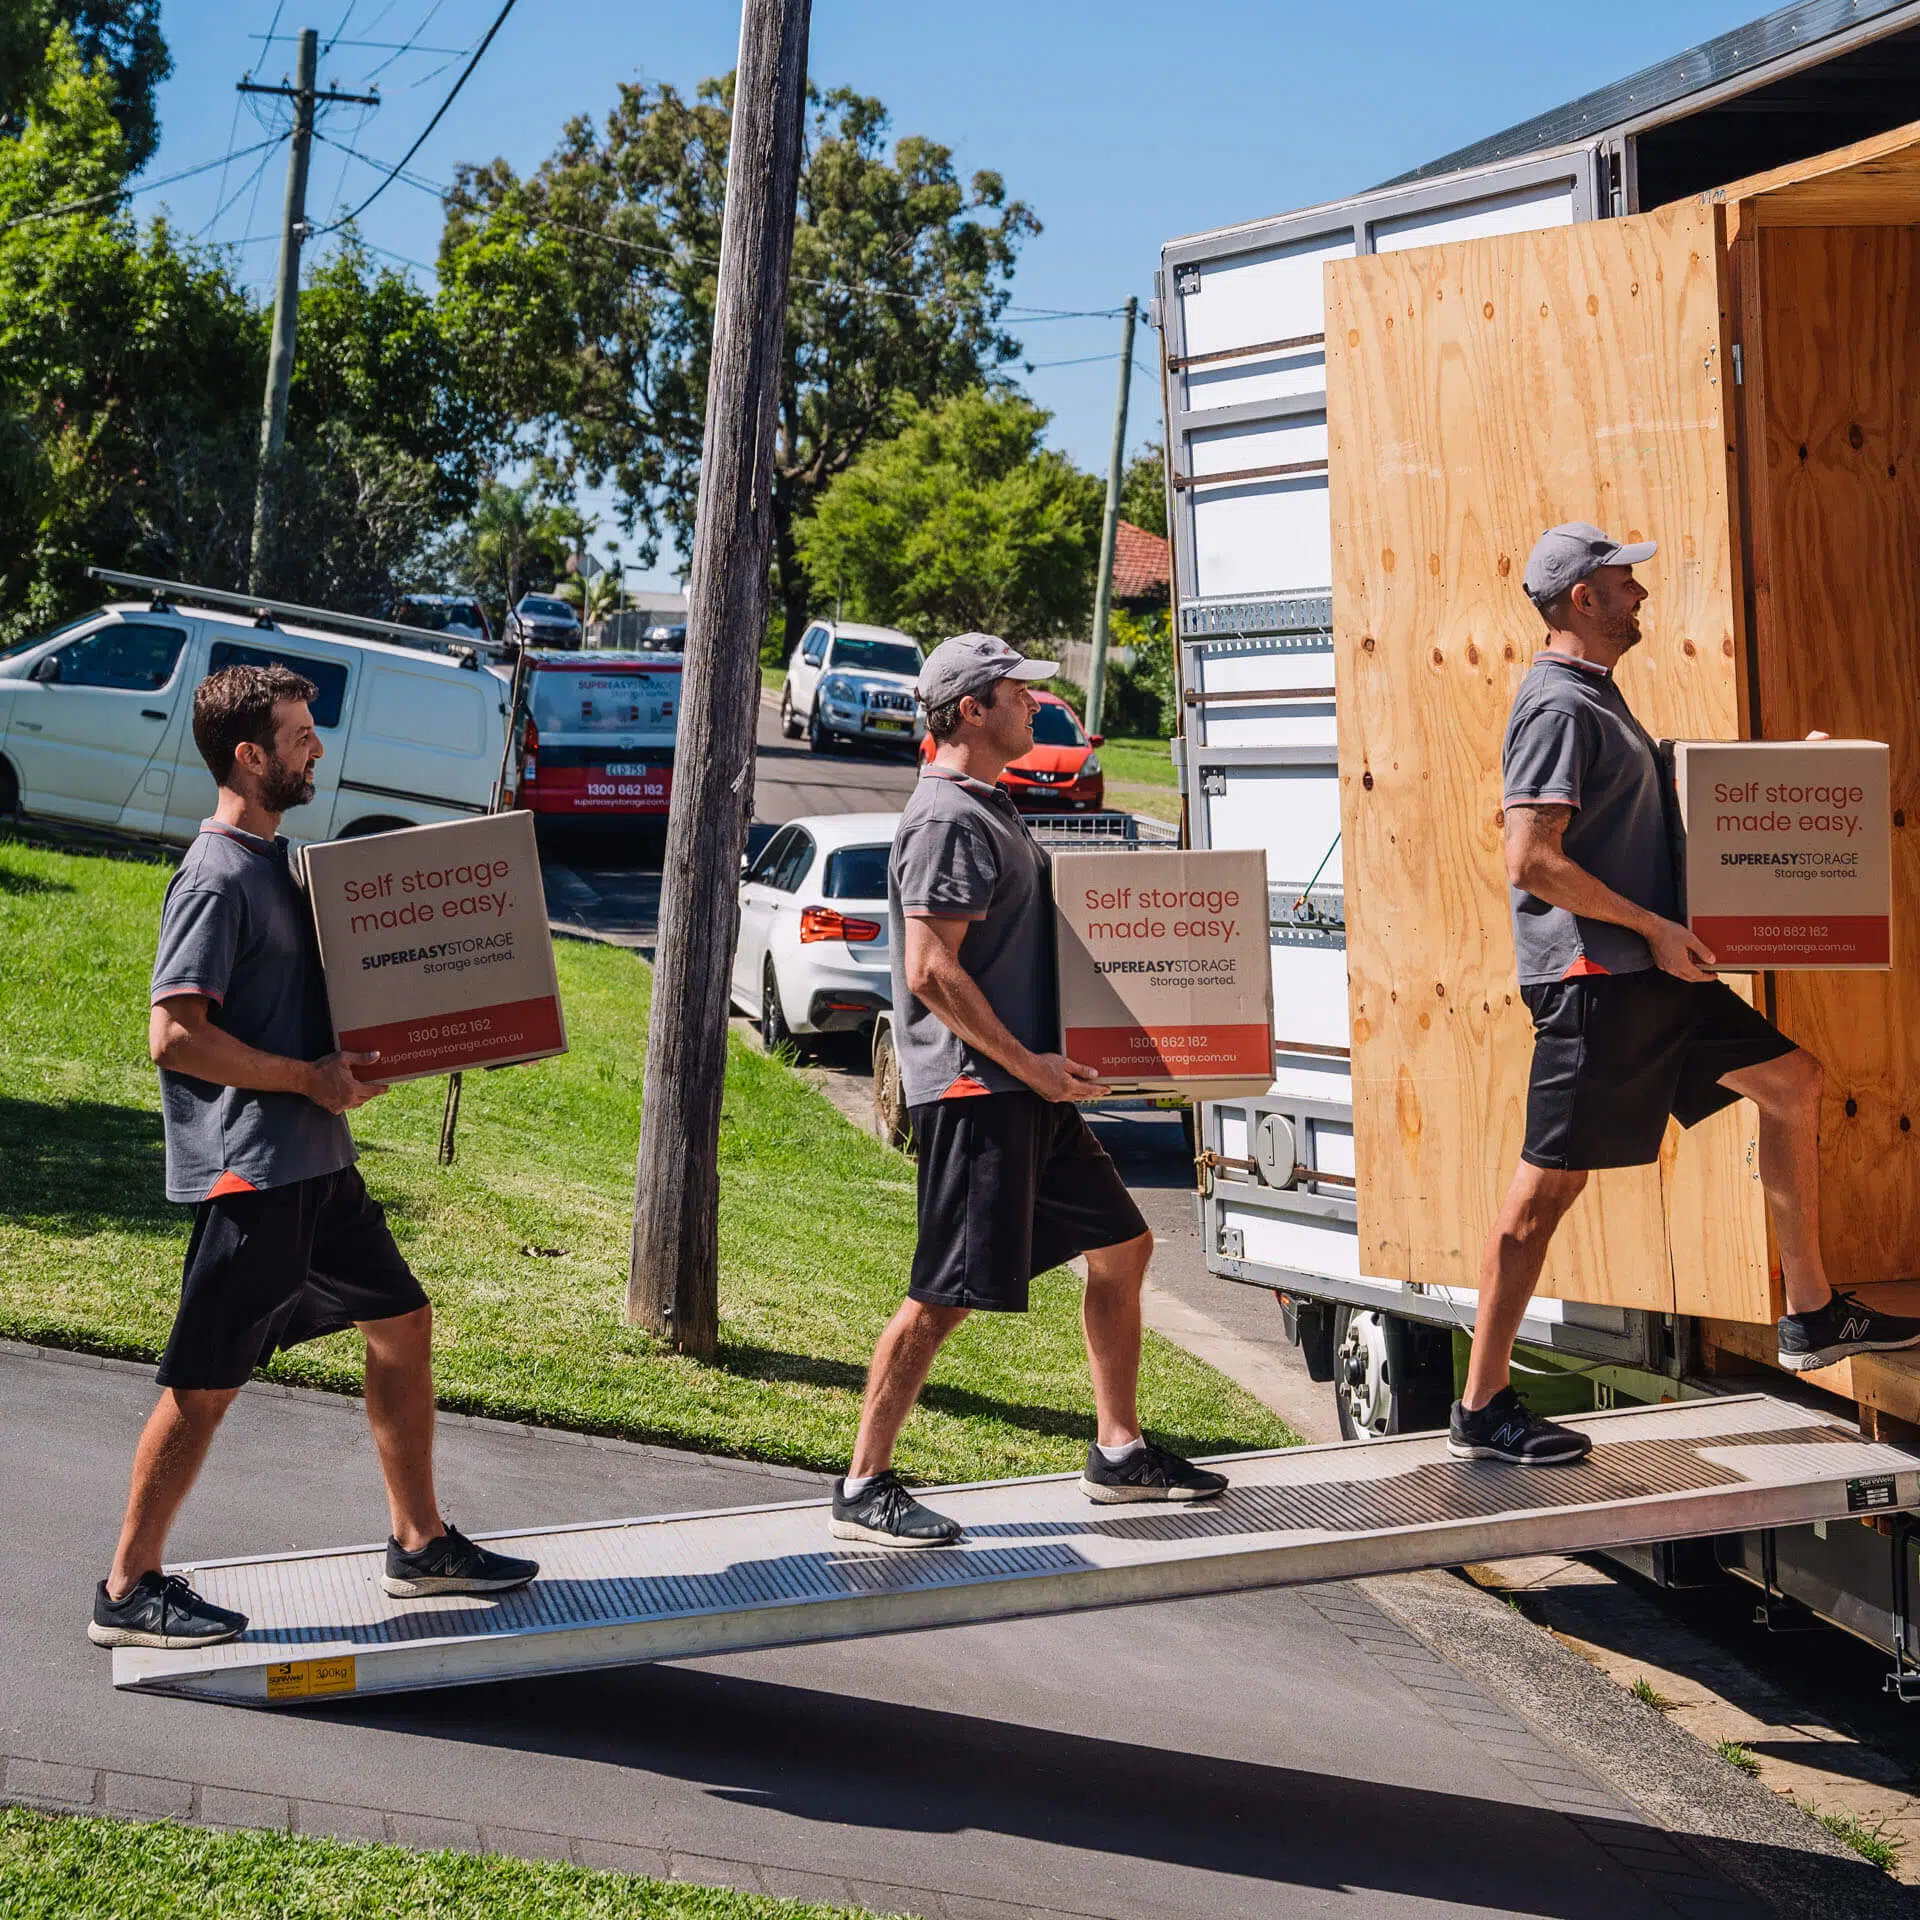
If an appliance is particularly heavy, hard-wired, or awkward to move, this is the point where professional help is worth considering for safety reasons. Many people also find it helpful to follow a structured moving house checklist so heavy appliances aren’t left to the last minute.

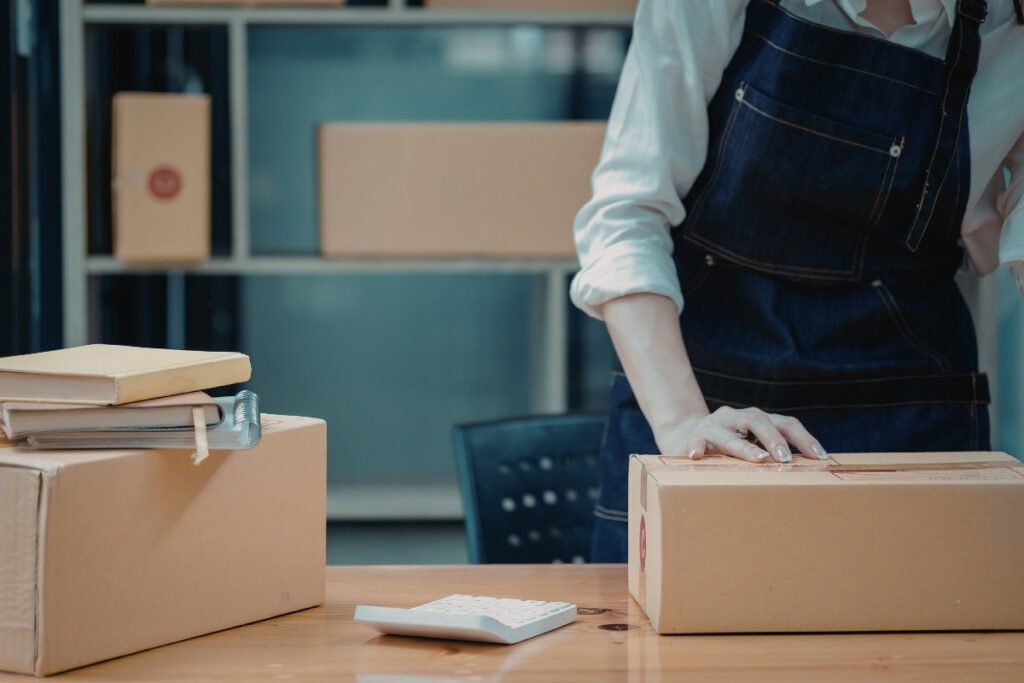
Packing Supplies You’ll Need For Appliances
Appliances need stability and protection, not tight compression.
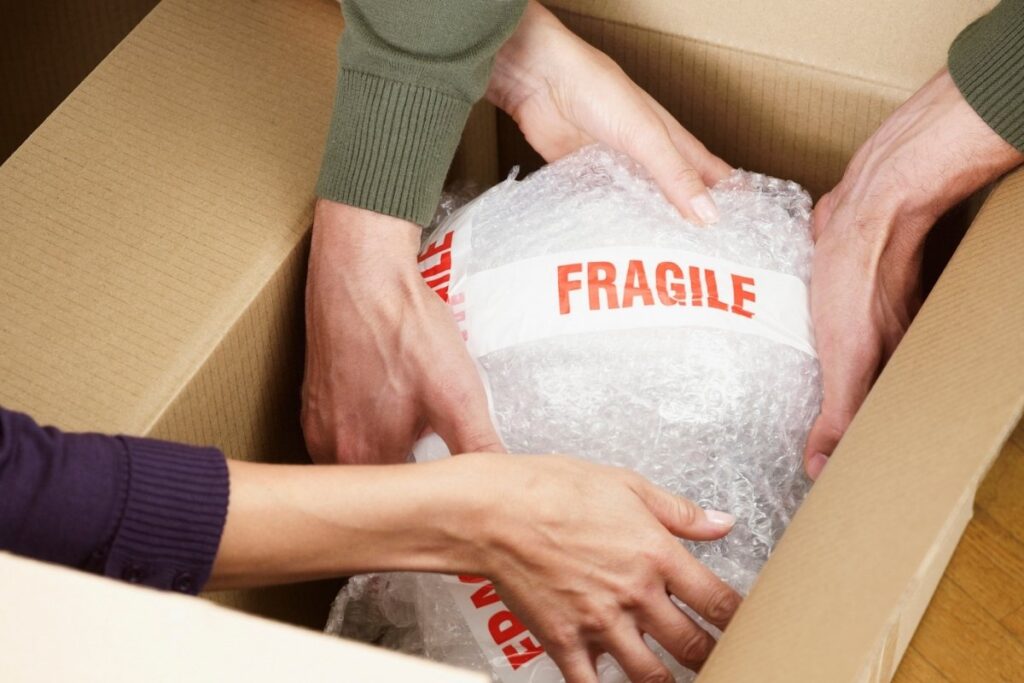
Where possible, use appliance boxes designed to support weight and shape. If these aren’t available, sturdy boxes combined with padding work well. Moving blankets and towels provide excellent cushioning and help manage moisture. Bubble wrap should be used selectively to protect fragile components, not wrapped tightly around entire appliances.
Stretch wrap is useful for securing doors and keeping cords in place, but it should never be used to seal moisture inside an appliance. Zip ties or labelled bags are ideal for keeping cords, hoses, and accessories together.
The goal is to prevent movement and impact, while still allowing appliances to stay dry and ventilated.
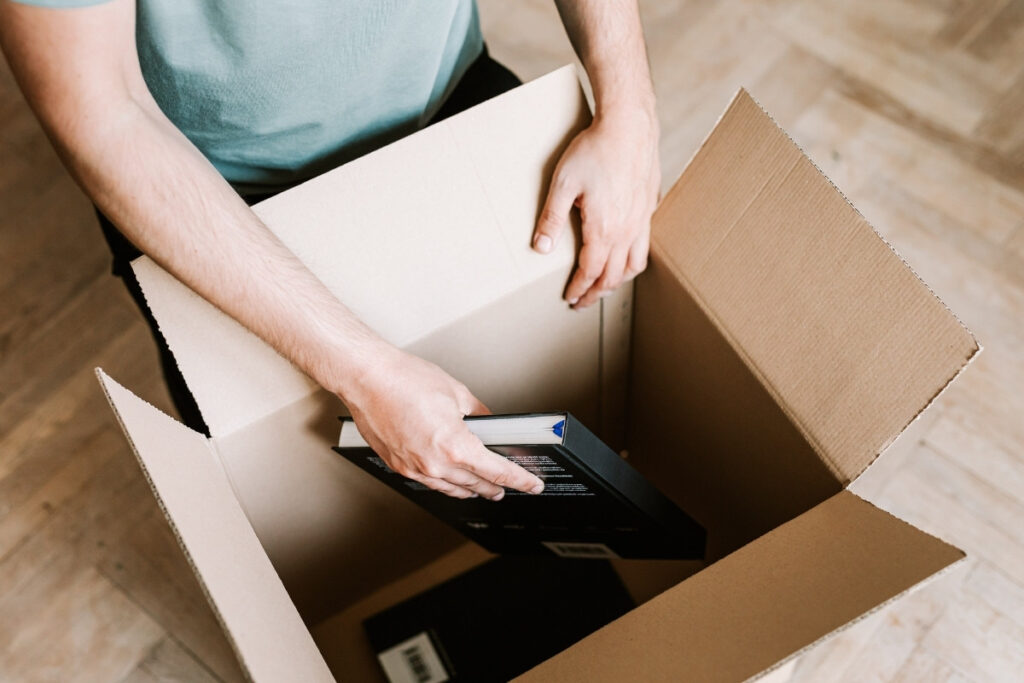
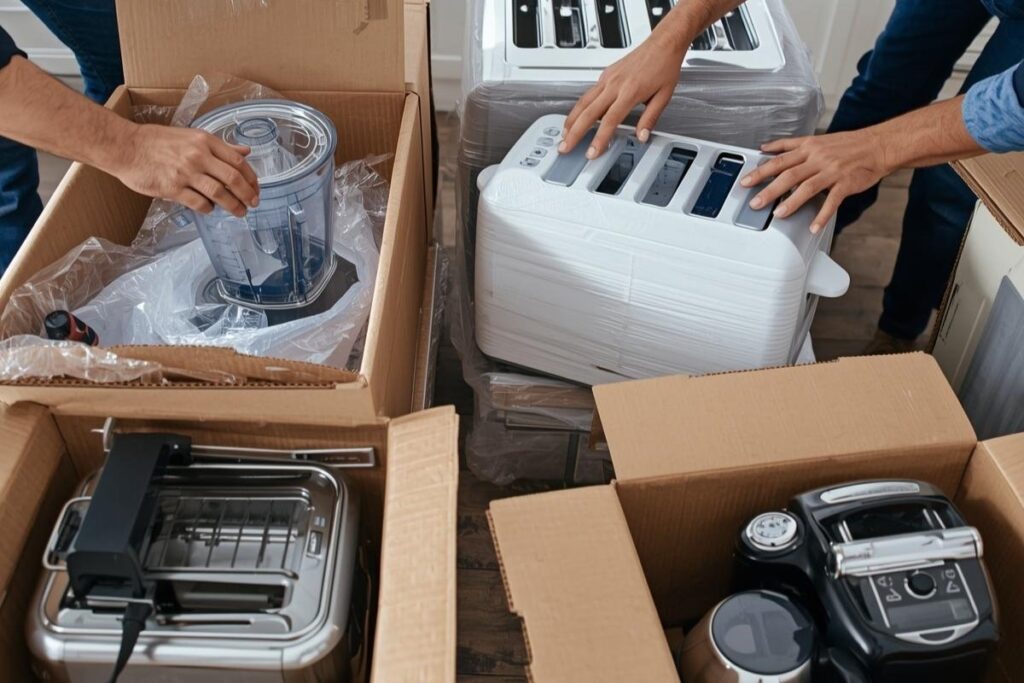
How To Pack Small Kitchen Appliances
Small appliances may be lighter, but they’re often more fragile internally.
Kettles, Toasters, Blenders, Coffee Machines
Before packing, empty each appliance completely and allow it to dry fully. Remove detachable parts such as lids, blades, filters, or water reservoirs. Wrap each appliance individually using towels or bubble wrap, paying attention to spouts and control panels.
Pack appliances upright in a box with cushioning on all sides so they don’t shift during transport. Never pack small appliances loose or stacked directly against each other without padding.
Microwaves
Microwaves require extra care because of their glass components. Remove the glass turntable and roller ring, wrap them separately, and place them back inside the microwave cavity with padding if space allows.
Secure the door with stretch wrap rather than tape, which can damage surfaces. Always pack microwaves upright and cushion all sides to prevent movement or impact.
How To Pack Large Kitchen Appliances
Large appliances carry a higher risk of both damage and injury, so preparation and positioning are critical.
Fridges And Freezers
Empty fridges and freezers completely and defrost them 24 – 48 hours before moving. Dry the interior thoroughly to prevent mould and odours. Remove shelves and drawers and wrap them separately.
If the appliance is going into storage, keep the door slightly ajar to allow airflow. Secure doors gently with stretch wrap to prevent swinging, not to seal them shut.
Dishwashers And Washing Machines
Drain all hoses completely before moving. If the appliance has a drum or internal moving parts, secure them according to manufacturer guidelines. Pack hoses, filters, and fittings separately in labelled bags.
Dishwashers and washing machines should always be transported upright to avoid internal damage.
Ovens And Cooktops
Remove oven racks and wrap them separately. Protect glass doors or panels with padding, and avoid placing any heavy items on top of ovens or cooktops during transport or storage.
Why Kitchen Appliances Are Tricky To Move
Kitchen appliances are damaged during moves for a few common reasons, and most of them are preventable.
Residual moisture is a major issue. Even small amounts of water left inside fridges, dishwashers, or coffee machines can lead to rust, mould, and unpleasant odours once the appliance is sealed and stored. Loose internal parts are another risk. During transport, vibration can crack fittings, break glass trays, or damage internal components.
Weight and shape also play a role. Appliances are difficult to lift safely, increasing the risk of back and shoulder injuries if they’re handled incorrectly. Finally, heat and time can affect electrical components during storage if appliances aren’t prepared properly.
Correct preparation isn’t just best practice, it’s how you prevent long-term damage.

Packing Kitchen Appliances For Storage Vs Moving Day
Packing appliances for storage requires a slightly different mindset than packing for same-day moving.
For storage, appliances must be completely dry, well-ventilated, and handled as few times as possible. Moisture left inside an appliance is far more likely to cause damage over time than during a short move.
Most appliances are safe to store long-term if they’re clean, dry, and packed upright. Damaged, damp, or obsolete appliances are often better repaired, sold, or replaced rather than stored.
Appliances are more likely to fail due to repeated moving and re-handling than from being stored securely. This is one reason many people compare mobile storage versus traditional storage when appliances need to be held safely between move stages.
If you’re unsure how much space packed appliances will take once padded, Super Easy Storage’s Storage Calculator can help you estimate the right amount of storage space before you move or store anything:
Common Appliance-Packing Mistakes To Avoid
Some mistakes cause immediate damage, while others create problems weeks or months later.
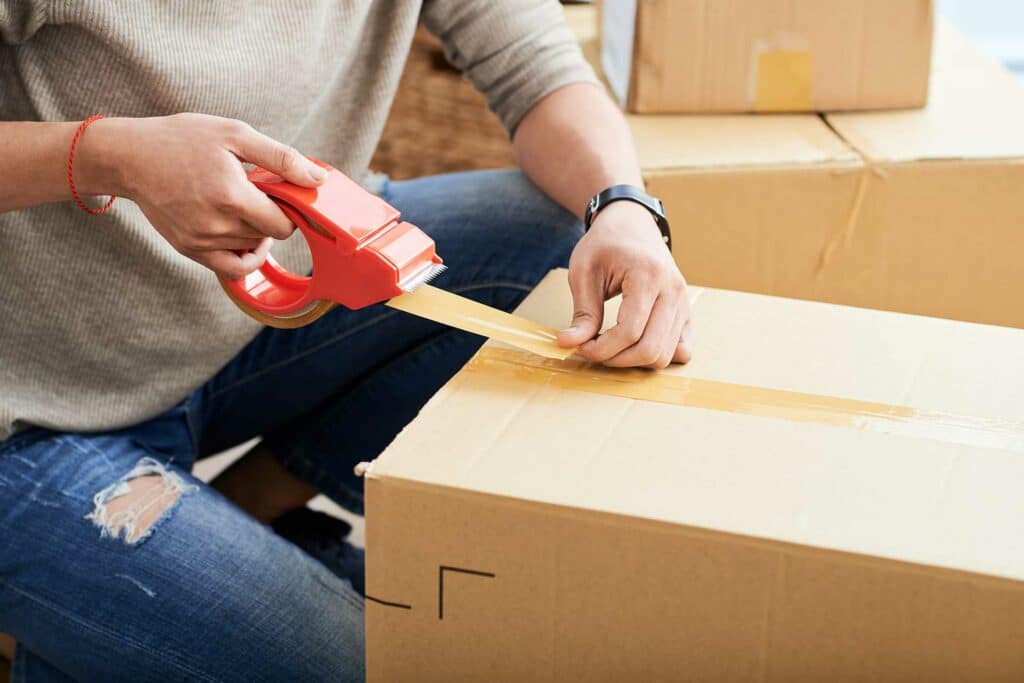
Avoid packing appliances with moisture still inside, as this leads to rust and mould. Don’t tape doors shut directly with adhesive tape, which can damage finishes. Loose cords and hoses can snag or break if they’re not secured properly.
Never lay appliances flat if they’re designed to stay upright, and don’t rely on shrink wrap alone without padding. These mistakes can result in cracked components, electrical faults, or even voided warranties.
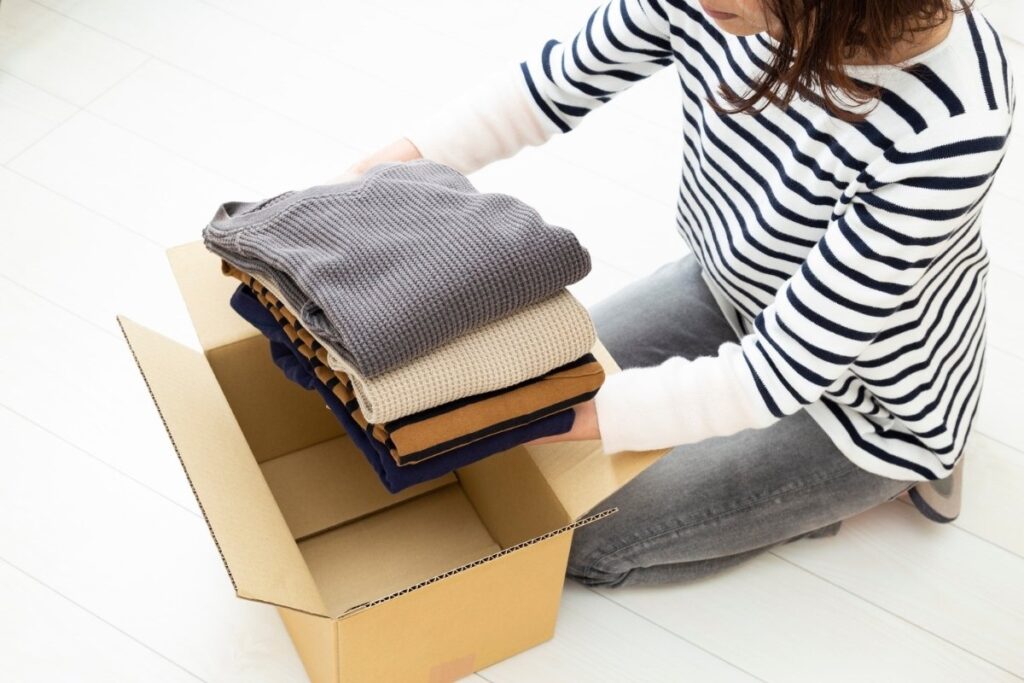
What To Pack Separately For Moving Day
Set aside essential appliances you’ll need straight away. This often includes a kettle, microwave, or coffee machine. Keep power cords, manuals, and basic cleaning supplies accessible so appliances can be reconnected safely.
This small step reduces frustration and prevents last-minute box digging after a long move.
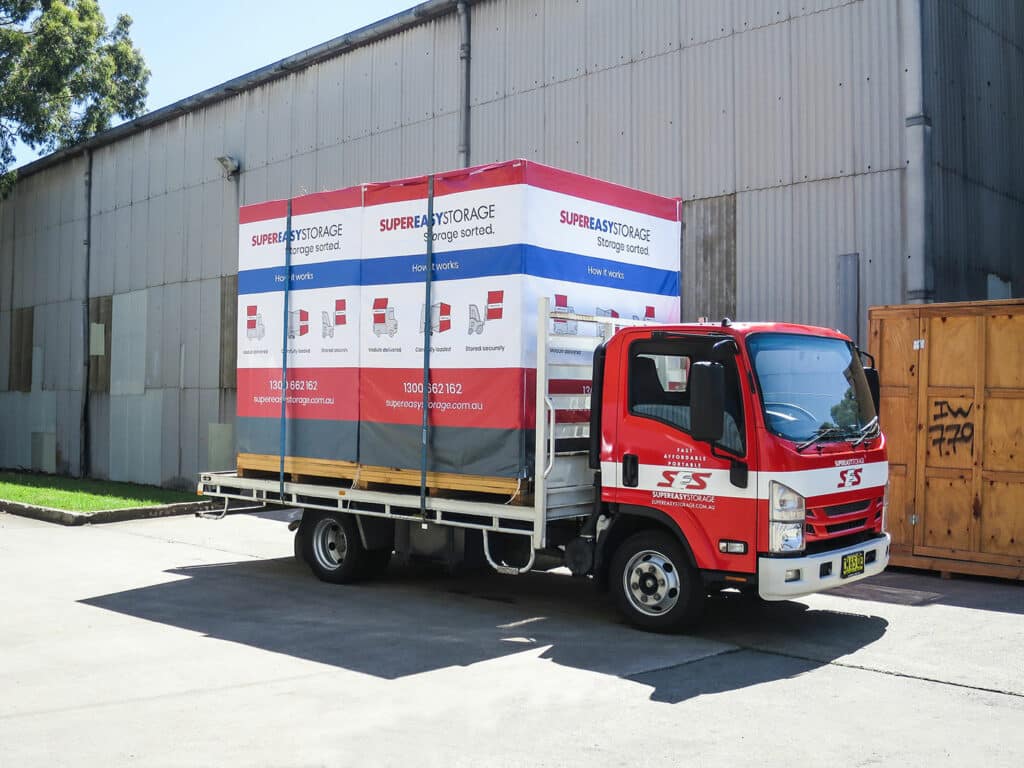
How Super Easy Storage Helps Protect Kitchen Appliances
When timelines don’t line up or space is limited, Super Easy Storage offers a practical way to protect bulky kitchen appliances. Appliances are packed once and stored securely, reducing lifting, re-handling, and the risk of damage.
Flexible mobile storage timing works well for renovations, downsizing, or staggered moves, helping keep appliances packed, protected, and out of the way until you’re ready to use them again.
This approach reflects the practical differences outlined in why Super Easy Storage is different, where minimising handling is key to protecting bulky or fragile items.
Pack Once, Protect Your Appliances
Kitchen appliances last longer when they’re cleaned, dried, stabilised, and handled as little as possible. Thoughtful packing reduces damage, lowers injury risk, and makes reconnection easier at your new place.
When moving timelines are tight or uncertain, packing once and using secure storage can be a practical way to protect valuable appliances and simplify the move with support from Super Easy Storage.
FAQs
Can Kitchen Appliances Be Stored Long-Term?
Most can, as long as they’re clean, dry, and stored upright in a ventilated environment.
Should Appliance Doors Be Taped Shut?
Doors should be gently secured with stretch wrap, not sealed tightly with tape.
How Do You Prevent Rust Or Mould?
Thorough drying and airflow are key. Never store appliances with moisture inside.
Can Appliances Be Stored In A Garage Or Storage Unit?
Yes, if the space is dry, secure, and suitable for appliance storage.